Hydration reservoirs from Camelbak, Hydrapak, Osprey, Platypus, and Gregory (to name a few) offer an easy and convenient way to carry water and hydrate in the outdoors. And, it goes without saying, staying hydrated and having a reliable source of water during outdoor activities is just as important during the winter as it is during the summer. But how do you keep a hydration bladder from freezing?
Here are four tips to enhance the reliability of a Camelbak-style hydration reservoir during the winter and to keep it from freezing:
- Insulate the hose and bladder.
- Insulate the bite valve.
- Keep water out of the hose.
- Fill the bladder with warm water.
Each of these tips should be considered before the Camelbak becomes a primary source of hydration in the winter. The reliability of a hydration reservoir in the winter diminishes as temperatures drop. The bite valve, hose, and reservoir can all freeze. The overall system can be subject to other failures as well. Many of these reliability issues can be diminished or avoided. Read more to understand how the tips mentioned above can be implemented to make the Camelbak hydration system more reliable in winter weather.
Why Use a Camelbak in the Winter?
Nothing beats the convenience that a Camelbak provides when it comes to the easy access of hydration. Many underestimate hydration needs when planning for winter related outdoor activities. Winter hiking, skiing, snowshoeing, cross-country skiing, and backcountry skiing are all high exertion activities and require constant hydration. There are enough risks involved with winter outdoor activities to worry about, dehydration should not be one of them.
However, hydrating in the winter can be a challenge. Consider just a few of the inconveniences that water bottle access in the winter causes: First, you have to find a safe place to stop. You might even have to gain a consensus from the rest of your party. Then, you may have to remove your gloves, remove and shuffle through a freezing-cold pack with freezing-cold fingers to grab the water bottle. And since everyone hs stopped to drink, everyone might as well down some calories. When the picnic is over, you have to replace the water bottle—fingers getting colder, remount the icey pack (. . .so freezing-cold on a sweaty back). Then finally, replace the gloves and attempt to circulate warmth back into the fingertips—enduring until the next group-stop session to hydrate again.
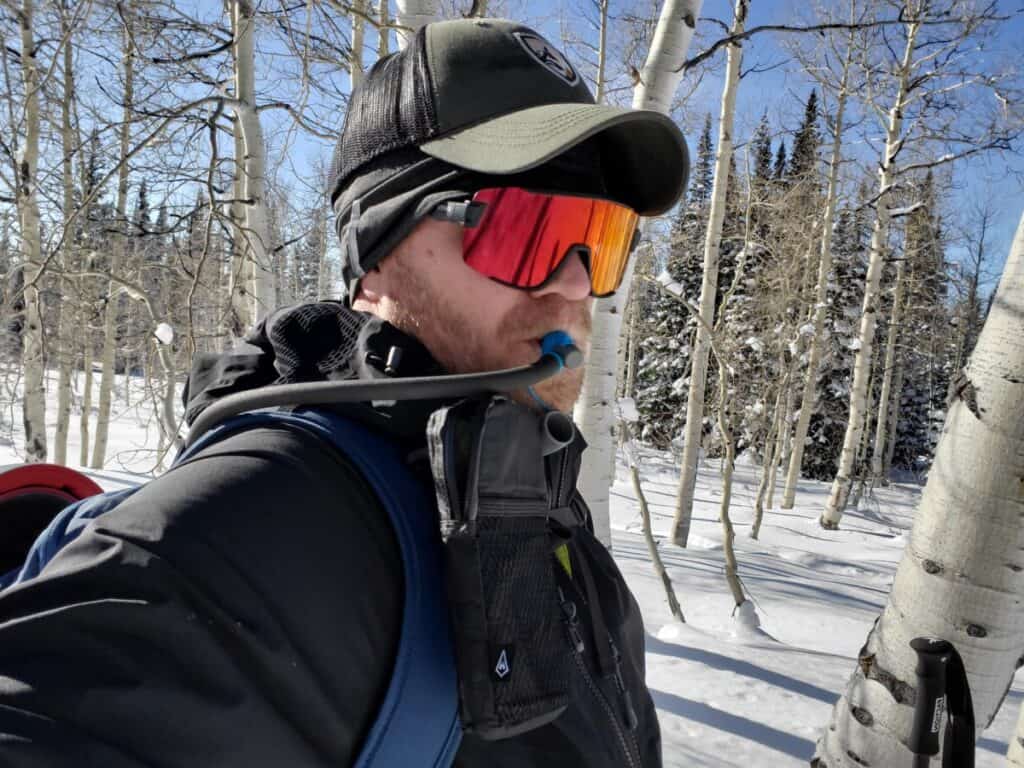
It’s no wonder that a Camelbak might be considered when planning a winter outdoor activity. With the Camelbak, or equivalent, you can access water any time you want or need—just a quick reach for the bite valve and drink—without even breaking stride.
Should You Use a Camelbak in the Winter?
Despite the extreme convenience that the hydration reservoir may provide during the winter, it is important to understand that the Camelbak-type hydration system becomes more and more unreliable as temperatures drop.
In general, the hydration reservoir is a complicated hydration system. Water is stored in a flexible plastic bladder. A hose is connected to the bladder with either a compression fitting or a quick-link connector (snap-on/plug-in fitting with O-ring seals). A bite valve is attached to the end of the hose which includes another set of compression fittings, stop levers, etc.
Because water in a hydration reservoir has to travel through a thin narrow tube and then through a small bite valve, it can be especially subject to freezing. Also, when the hose and valves get cold, the O-ring seals and compression fittings that normally prevent leakage, may be subject to failure.
A couple of years ago, I purchased a fairly well-rated hydration reservoir. However, a few of the product reviews mentioned that the hose valve can pop off randomly from the bladder in cold temperatures—causing water to gush out of the bladder. I later found this to be true—the hard way. Except, it wasn’t water that gushed out all over the bottom of my pack. It was an electrolyte mix.
Moral of the story? First, the colder temperatures get, the more unreliable a complicated hydration system, like the hydration bladder, becomes. Second, read reviews and take preemptive measures to avoid issues from occurring while in the backcountry. . .and don’t put an electrolyte mix in a hydration bladder.
The answer to the question: “Should You Use a Camelbak in the Winter?” isn’t a straight forward, “Yes”, or “No”, but rather, IT DEPENDS.
For any given outdoor activity, reliable hydration is mission critical. Each person must assess and determine if their hydration system is reliable. One person’s Camelbak system may be insulated, well designed and able to provide reliable access to water—while another person’s may not.
However, here is my personal take. . .I hope this is helpful. . .when the winter temperatures are mild, a well insulated hydration reservoir, tube and bite-valve can be a great way to carry water as long as the tube is kept free of standing water (see below). (I personally consider temperatures warmer than 20 °F (-6.5 °C) as mild.) There are hydration packs that are specifically designed with insulation to accommodate mild winter conditions. There are also ways to carry and insulate the reservoir, tube, and bite-valve so access to water can be more reliable.
However, I’d like to emphasize three key considerations to make before grabbing the Camelbak for a “mild” winter tour:
- As mentioned above, the colder temperatures get, the more unreliable the Camelbak system becomes. Know what weather conditions to expect. A strong wind can cause mild winter temperatures to become bitter hose-and-bite-valve freezing cold.
- The further away from my vehicle my tour plans are, my need for uncompromised reliable access to hydration increases.
- The more aggressive my tour plans are, (i.e. skiing and traversing steep slopes) the more bomber-proof I’m going to want my hydration system to be.
On cold days when I’m going deep into the backcountry and looking to ski an aggressive line, I’m not going to want to have to worry about the reliability of my hydration system. I’ll just bring an insulated Nalgene water bottle and do the pack shuffle thing every time I need water.
How to Insulate a Camelbak or Hydration Bladder?
- The Insulated Bladder Pack and Insulated Hose. There are hydration packs that can be purchased that are specifically designed for cold weather use. These packs come with an insulated pocket to store the water reservoir to help prevent freezing.
For winter use of the Camelbak-style hydration system, it is critical that your hose is somehow insulated.
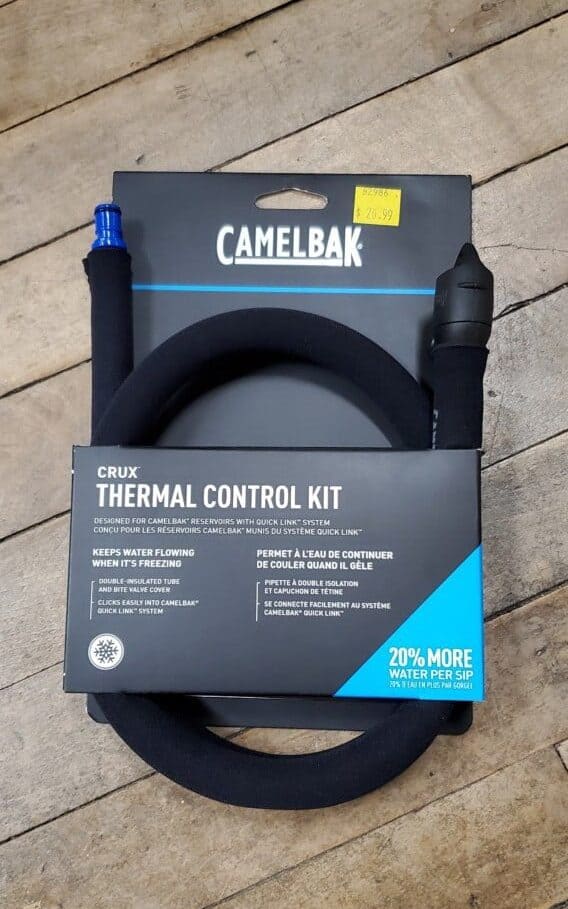
You can purchase an insulated hose and bite-valve and connect it to a Camelbak hydration reservoir with the Mil Spec tube, Crux: Thermal Control Kit or to a Hydrapak reservoir with Hydrapak’s Arctic Fusion tube.
I use the Hydrapak Hydrasleeve to keep my hydration bladder insulated. It is a pouch that is designed to insulate the water reservoir. It also adds durability. I can throw this into my pack, winter or summer, and feel confident that the water will be insulated and the reservoir protected. I’ve never run into any issues with water freezing in the bladder. - Carry the bladder in a very thin and comfortable pack such as Camelbak’s Bootlegger and put it on under the mid/outer layers of clothing. The hose and bite valve are kept under the mid layer, run over the shoulder, and are kept insulated by your body heat.
The main benefit obtained from carrying the hydration reservoir in this fashion is to prevent ice buildup in the hose and bite valve. If you are carrying another gear pack, it may seem weird to wear a pack under another pack. However, it becomes unnoticeable after just a few minutes and is extremely effective at keeping the entire bladder system from freezing since it is warmed by the body. - Sleeve cover for the hydration tube. Since a hydration bladder’s hose and bite valve are most subject to freezing, you can simply add an insulated hose sleeve like the Deuter Streamer Tube Insulator. Some winter-ready hydration packs come with an insulated sleeve for the hose and bite-valve.
Winterize your Bite Valve
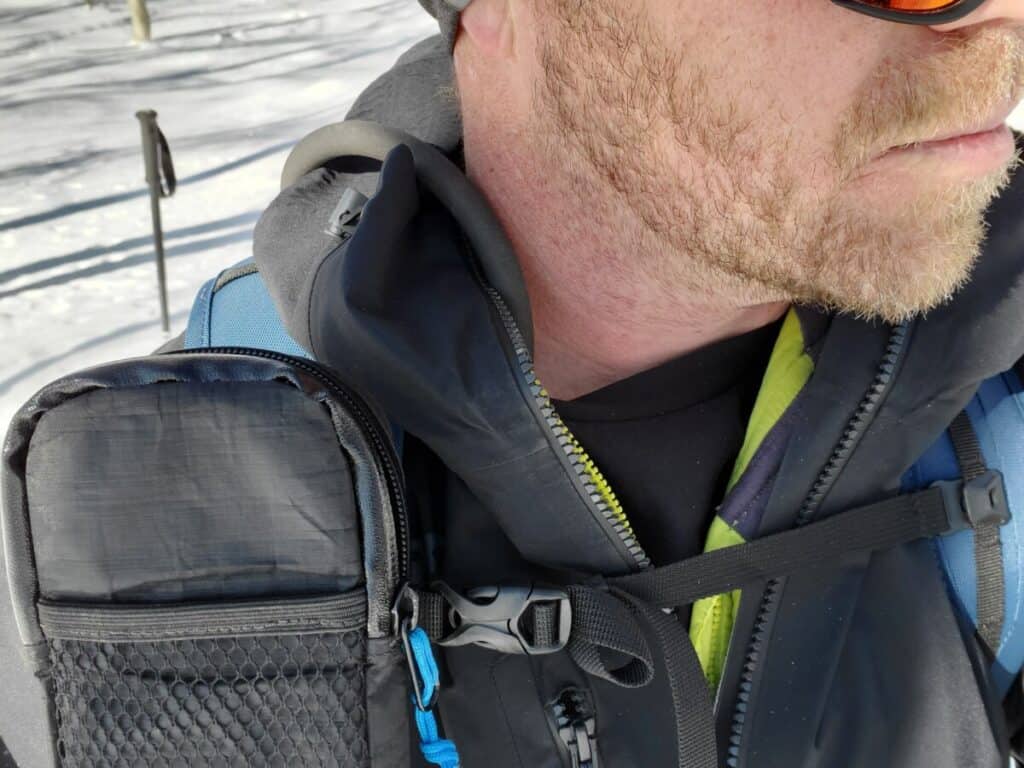
When using a Camelbak style of hydration reservoir in the winter, it is important to keep the bite valve insulated. The easiest way this can be done is by tucking the hose and bite valve down inside the collar after each use.
Another alternative that can be considered is purchasing a hydration pack such as the Camelbak SnoBlast, Powderhound, and Zoid that not only come with an insulated hose, they also have a shoulder strap that contains an insulated sleeve for the hose and bite valve.
Camelbak also makes the Crux Thermal Control Kit which is an insulated hose with an anti freeze bite valve.
How Keep Water from Freezing in a Camelbak Hydration Tube and Bite Valve?
The best way to keep water from freezing in a hydration tube is to keep the tube free of water. This can be done by blowing air back into the hose after each use. Blowing air into the tube forces all the excess water in the bite valve and tube back into the reservoir.
The only problem is remembering to do this every time you take a drink. Forgetting one single time can be very frustrating–as the bite valve and tube may freeze solid.
Sometimes too much air is returned to the bladder and the water will audibly begin to slosh around. You can burp the bladder by leaning over and sucking out the air. By leaning over, the air will be drawn to the tube valve inside the bladder where you can then suck out the air from the bladder.
Can You Put Gatorade, Hot Tea or Coffee in a Camelbak Hydration Reservoir?
You can add any drink you’d like to the Camelbak: coffee, tea, Gatorade, electrolyte mix, etc. You’ll just want to make sure and thoroughly clean the reservoir after each use.
You can fill a Camelbak with warm water. Although the Camelbak reservoir can withstand the temperatures of boiling water, it is not recommended to have extremely hot liquids as a hydration source. Sucking hot liquids through a giant straw just isn’t a good idea for obvious reasons.
However, filling a Camelbak with warm water at the beginning of a winter activity can delay the amount of time that the water will take to freeze. The warm water will also help prevent ice buildup in the tube and bite valve. Adding an electrolyte mix to the reservoir can help make the warm water more drinkable. Some say that adding an electrolyte mix will also lower the freezing temperature and reduce the chances of the hose and nipple from freezing. I haven’t actually tested this theory.
My personal preference is to carry just water in my Hydrapak. I’ll be the first one to admit that drinking warm water is nasty. However, because hydration reservoirs are a nuisance to clean, if I need electrolytes, tea, or coffee, I’ll carry them in a separate container in a concentrated formula to save on weight.
Using a Camelbak in the Winter? Bring a Backup. . .
Believe me, there is nothing worse than backcountry skiing, miles away from a vehicle, finishing a particularly exhausting uphill push in freezing temperatures, looking to be rewarded with a breather and much-needed hydration at the top—only to find the quench of thirst stymied by the Camelbak’s frozen tube and bite valve.
Yes, that exact situation happened to me. And, something similar might happen to you. You might forget to insulate or keep water out of the hose—it just takes one forgetful moment in the cold before you realize your predicament. The key is not to panic when this happens. Remember, you still have water. You just might have to take your pack off and drink from the other end.
To plan for situations like this, it is a good idea to bring an extra water bottle. The extra weight is negligible and it doesn’t take up much room in the pack. Usually, I’ll bring an extra water bottle with a small concentration of an electrolyte mix—mainly brought in case I need the water bottle as a backup to a frozen hydration hose situation.